
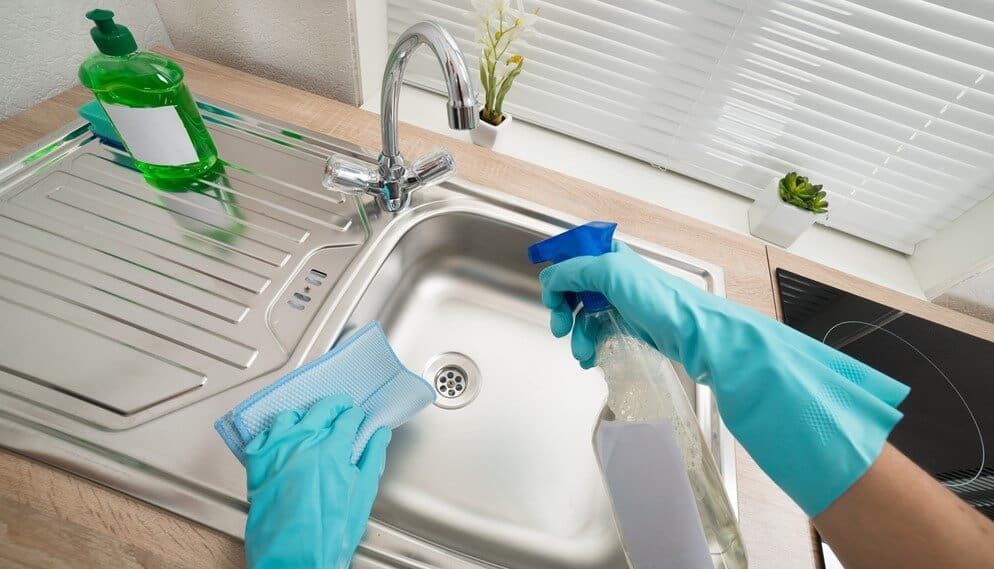
You don’t wanna spend the whole day cleaning your kitchen sink, do you? If you’re like me you always procrastinate cleaning your kitchen sink. No wonder there are several methods on the internet of how to clean a kitchen sink, but none of them could satisfy your exact need.
Your kitchen sink is one of the most used items. That’s why no matter how hard you try every time it becomes dirty again at a turbo speed. And you must wonder literally how many times do you have to deal with this time killing stuff.
It’s a fact that if you left your kitchen sink unclean too long, the bacteria that manifest in the sink can lead to life-threatening illnesses.
However, I’m going to share with you the easiest cleaning process that I use and which is the most efficient and effective way out there. Also, I’ll share some tips, things that you might not have thought of and just some general ways that you can make your sink look better like my sink.
No, I’m not an expert, I discovered this process a few months back and love to use it because my sink shines and looks 10 years younger every time.
Here’s the step by step process to buff your way to a fresh and sparkling stainless-steel sink that will stay that way for weeks.
How to clean a kitchen sink like a pro
Take a look at the whole process of how to clean a kitchen sink like a pro- at a glance. It doesn’t matter whether your sink is stainless steel or porcelain, double or single bowl, this process is applicable and effective for all.
Step 1: Dump ½ cup of baking soda down the drain
Step 2: Drench the entire sink with an all-purpose cleaner
Step 3: Sprinkle baking soda all over the sink
Step 4: Wrap a paper towel with white vinegar around the faucet
Step 5: Use a toothbrush to deep clean tighter Spaces
Step 6: Scrub the entire sink with a double-sided sponge
Step 7: Wash off with hot water
Step 8: Uncover the faucet and clean its groves with toothbrush
Step 9: Use a microfiber cloth to buff everything out
Step 10: Keep your Sink Clean
Let’s get down into the details to show you exactly how to follow this 10 step process to give your sink a makeover that it would shine as new.
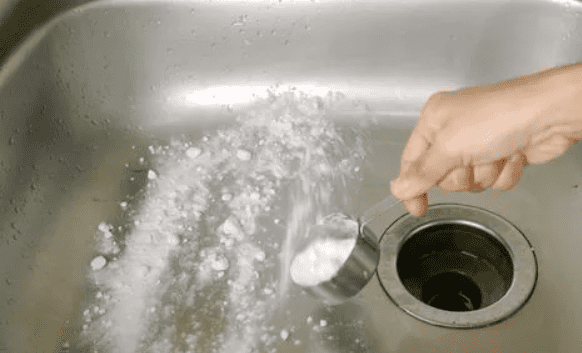
Step 1: Dump ½ cup of baking soda down the drain
Now, Before you start cleaning your kitchen sink, finish off any dishes and then give the sink a thorough rinse. This will help rinse away all food, liquids, and debris.
Then first, dump ½ cup of baking soda down the drain. If you have a double bowl sink then dump ½ cup of soda down each drain. This will help deodorize everything while you’re cleaning. You’ll need to run hot water down there at the end.

Dumping baking soda here will help dirt and grease to dissolve in water. That’ll reduce the possibility of a clog in the future. And also if your sink is gurgling that’ll help solve the problem as well.
Step 2: Drench the entire sink with an all-purpose cleaner
The next step of how to clean your kitchen sink like a pro is to drench the entire sink along with faucets with an all-purpose cleaner. Generally, soap and water work well enough to clean. You can use it too.
Just pour it into a spray bottle and spray it all around the sink. Don’t overlook any edges and grooves. Also, you can add some tea tree oil in there for some extra dynamism.
This will help the sink to get rid of bacterias and germs.
This step is necessary because according to a study done in 2008, about half of kitchen sinks harbor over 100,000 bacteria per square centimeter.
Step 3: Sprinkle Baking Soda all over the Sink
Now it’s time to sprinkle baking soda all over the sink. However, exclude your faucet from it. Just cover the sink bowl and drain. You need to use a lot of baking soda.
This might look a little aggressive, but if you want to get rid of all dirt and marks quickly and efficiently from your sink bowl then baking soda is the best scouring product.
Don’t hold back, attempt to cover the whole sink. You can utilize canisters of baking soda or you can drill a few openings in the top of a mason jar.
If you go with the mason jar consider adding a couple of drops of your favorite essential oils to your baking soda. It will give your entire kitchen an incredible smell.
Step 4: Wrap a paper towel with white vinegar around the faucet
Spray some plain white vinegar on a paper towel or tissue and wrap it around the area of the faucet that has some hard water buildup and some crustiness in it.
Look for the area around your faucet where you’ll notice a lot of white buildup or scale. If your water contains a lot of iron as well, the buildup may take on a rusty or yellow hue.
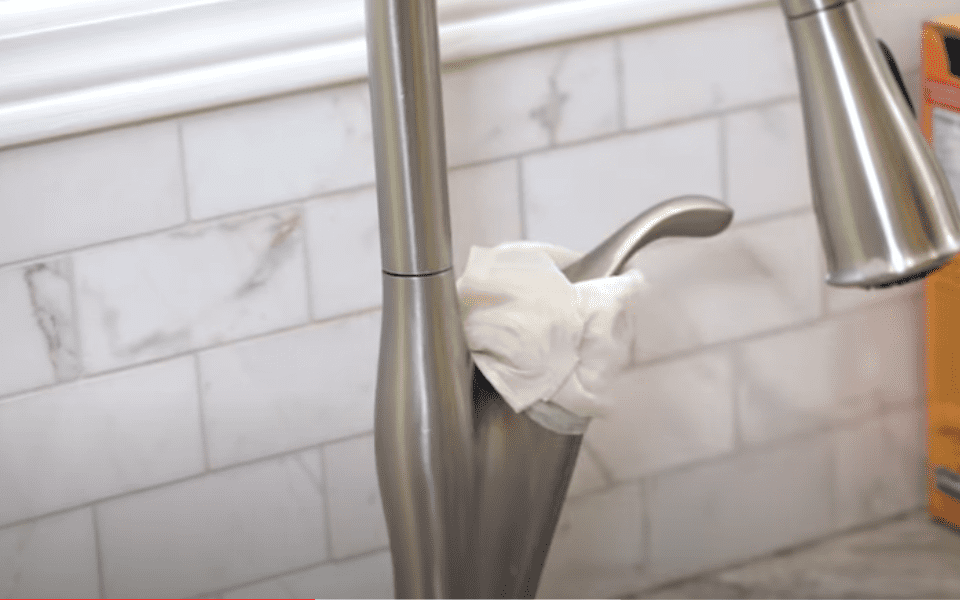
Wherever the area or areas are, cover it with vinegar sprayed paper towel and let it sit there while you are finishing the cleaning process. White vinegar is usually sufficient to remove the buildup.
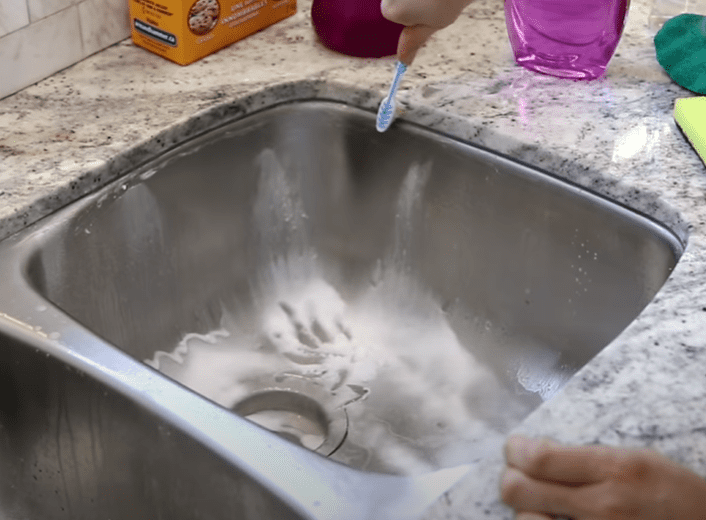
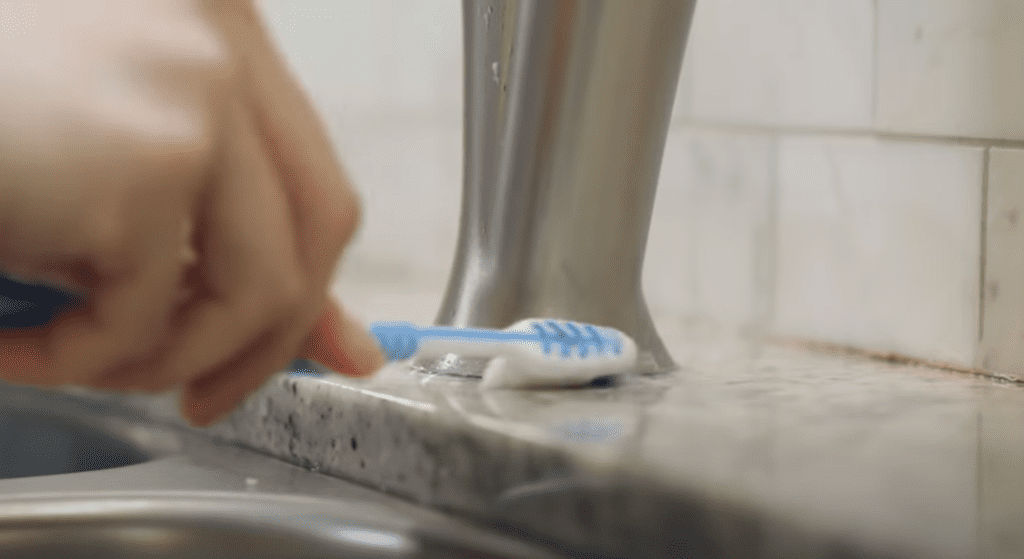
Step 5: Use a toothbrush to deep clean tighter Spaces of the kitchen sink
A toothbrush works well for tighter spaces and tricky turns around the fixture, countertop, and drain. As you rub in the baking soda, the tiny hairline scratches on your sink will become less noticeable.
Take a toothbrush and wet it with some all-purpose cleaner. Also, squirt a little amount of dish soap on the brush. Now start deep cleaning to the area where the sink meets the countertop.
For an under-mount kitchen sink clean all the sections of the meeting place. If you have a sink that sits above your countertop then do the exact same thing where your sink meets the countertop.
Dig in with that toothbrush and clean all gunks and dirt that is otherwise hidden. Then, do the exact same thing on the drain. Use some all-purpose cleaner on there. Add some dish soap on the toothbrush, and use some of the baking soda that’s already there.
The toothbrush will allow you to detail all of the little grooves and nooks and crannies around the drain that otherwise be very difficult to reach.
This step is important because it’s difficult to clean the drain properly with just a sponge.
Step 6: Scrub the entire sink with a double-sided sponge
Now that the heavy lifting is done, use a back side of a double-sided sponge to give your sink a really good scrub down. You can also use a dish wand if you prefer, that’s a nic alternative and might be more comfortable for you.
The soap from the all purpose cleaner and the baking soda will give you every opportunity to really clean the sink well.
Start from the top and spiral your way down to the bottom and then clean the base. Using a circular motion is the best way to clean your kitchen sink. Baking soda is rough but not enough to scratch stainless steel or other types of sinks. So don’t worry when you’re scrubbing.
Step 7: Wash all off with hot water
The next step is to hit your entire sink with hot water. You can use a spray setting but it really doesn’t make any difference.
Start from the top and wash all the way down to the bottom. Make sure everything you’ve cleaned off gets washed away and down the drain.
Don’t miss too much, otherwise you’ll have trouble when you shine it up later.
Hot water with baking soda will also help clean the clogging materials stored inside the drain. Hot water works best for all types of pipes. However, if you have PVC pipes, water over 175 degrees can soften or melt the joints in your pipes.
The safe way is to don’t use too much hot or boiling water—just use hot water, or water as hot as your tap normally makes it.
Step 8: Uncover the faucet and clean its groves with a toothbrush
Now it’s time to uncover the faucet from the paper towel. You can use a sponge to gently clean it. However, you can miss some tight areas when you’re using a sponge.
The best way is to take your cleaning toothbrush and just work your way through those grooves on the faucets where you previously detected hard water buildups and gunks.
Then use the vinegar soak paper towel to wipe it. You can even kind of wedge it right in there and get some of the crud out.
Use the toothbrush on some other areas such as on the bottom of the faucet to clean it really well. Avoid using soap on the faucet head.
Step 9: Use a microfiber cloth to buff everything out
Now, buff everything out so the rest of the rest of the faucet also looks clean and good, which is why it just needed a quick wipe.
Use a large ultra-plush microfiber cloth. It’s pretty useful for shining and drying the sink. You can spray some white vinegar into the wiping process and use it as an eraser. If you notice you miss a spot or water spot you can spray some vinegar and buff it off.
You can finish wiping with a touch of olive oil. Your sink will stay wonderfully shiny for several weeks before needing a refresher. This is the best way to clean and shine your kitchen sink altogether.
Then, if you have hard water buildup on your faucet head. You can soak it with some vinegar.
Add remainder of vinegar to zipper lock bag and tie it up with the faucet head soaked inside the bag.
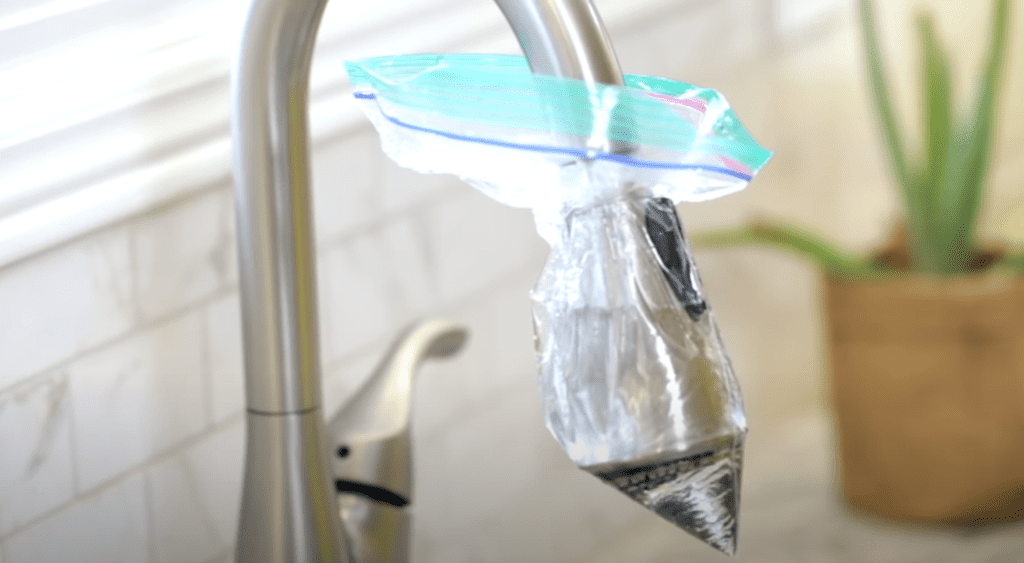
Leave this for a couple of hours and then wipe it with dry cloth or paper towel.
Step 10: Keep your Sink Clean
With these 9 steps, you’ve learned the process of how to clean a kitchen sink like a pro. Now. you need to maintain the cleanliness. Clean your dishes regularly. If you don’t have a dishwasher, it can be easy to let dishes go for a day or two (or longer). Letting dishes sit around can spread destructive microbes at a quick rate. If you can’t get to them immediately, let them soak to ease the process when you get to them, however, attempt to restrict it to a short-term drench.
Pour hot water down the sink after washing dishes. This will guarantee that any gunk quickly in the channel will wash away before it solidifies, making it harder to eliminate later. Hot water will also prevent odors from forming.
Create a disinfectant spray. Mix 1 cup each of water and white vinegar or apple cider vinegar along with juice from half of a lemon to help cut away grease and ward off harmful bacteria. Instead of lemon, try using 20-40 drops of a lemon-based essential oil. Keep this on hand to spray down your sink after you finish washing dishes.
Now that you know how to clean your sink, you’ve been given a fresh set of eyes so that means you’ll never be able to unsee the things that you’ve seen in your kitchen sink.
The purpose I’ve shared these tricks with you so that you can have a beautiful clean sink like me and feel amazing about your kitchen.
Feel free to leave a comment if you’ve questions about it.